I love to travel. If I could take a trip every month, there’s no doubt in my mind that I definitely would! Of course, that just isn’t possible at this point in our lives. However, I have started a Travel Fund so that we can save any little bit of extra money we have.
Disclosure: I received the Chalk Ink Wet Wipe Markers in exchange for this post. All thoughts and opinions are my own.
I love to travel. If I could take a trip every month, there’s no doubt in my mind that I definitely would! Of course, that just isn’t possible at this point in our lives. However, I have started a Travel Fund so that we can save any little bit of extra money we have. Our last Disneyland Vacation was amazing and I can’t wait to go again.
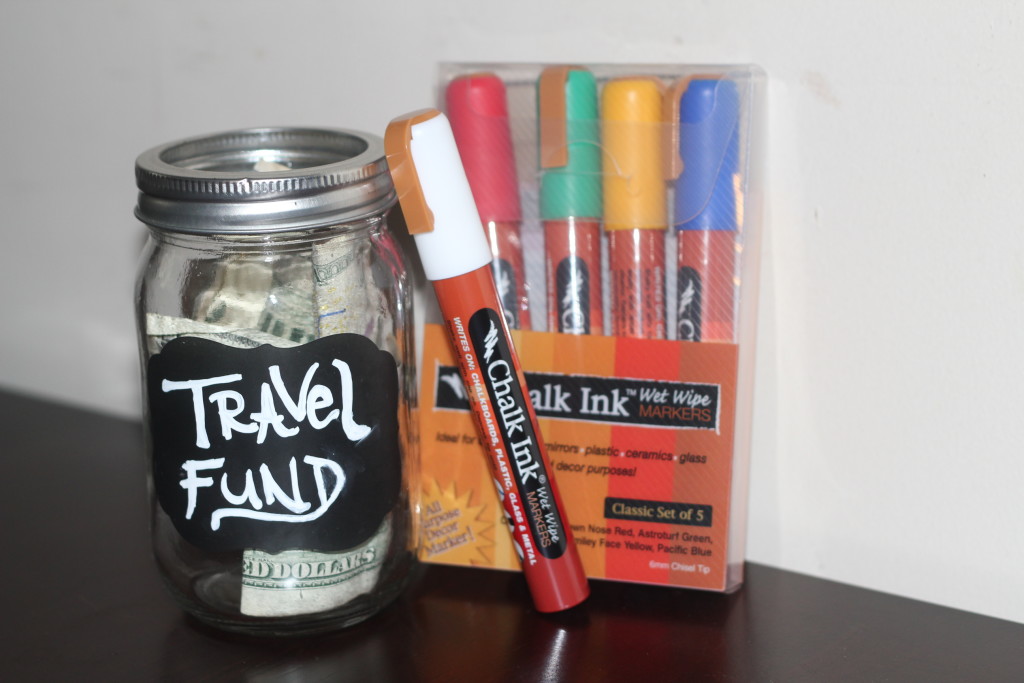
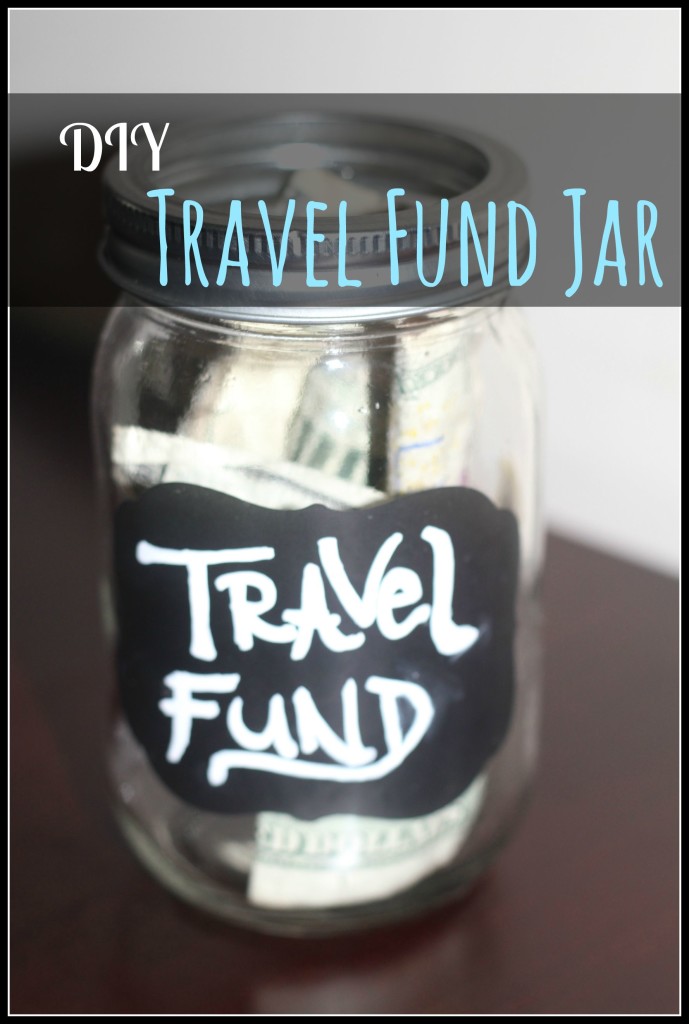
Chalk Ink Wet Wipe Markers helped to turn my boring glass Travel Fund jar into something I can proudly display on a shelf (in my walk-in closet of course, not out in the open)! There’s know way I’d leave a jar full of money out in the open. But, I sure do like looking at my jar and seeing it get filled up!
All you’ll need for this simple DIY project is 3 things: Glass Jar, Chalkboard Labels, & Chalk Ink Wet Wipe Markers
Ok, so this is a really simple DIY project that anyone can do. I started by adding a chalkboard label to a glass jar. Instead of using regular chalk to label it, which would eventually get smeared and easily erased, I used a white Chalk Ink marker. It worked perfectly! That’s it. Two steps and you’re done. Now you can start saving for your next family vacation. When you do plan a vacation, be sure to search for the best deals. When we went to Disneyland, I found amazing prices on GetAwayToday, definitely a site you should check out when planning your travels.
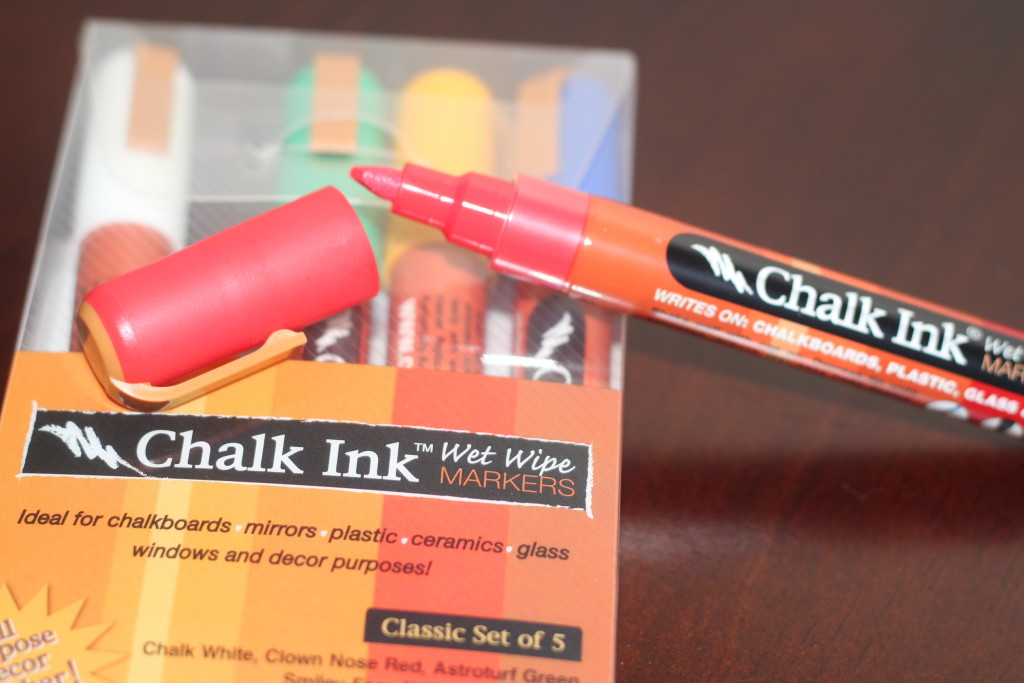
Chalk Ink markers are ideal for chalkboards, mirrors, plastics, ceramics, or glass windows. I received the classic set of 5 markers, which included white, red, blue, green and yellow. I’ve seen them in many colors though, and they’re really fun to use.
My handwriting isn’t the best, so I was surprised that the finished product turned out looking pretty good! The Chalk Ink markers are so easy to use. Just shake well to mix the ink, then (when using for the first time) press the tip down on a piece of scratch paper until the ink fills it. After that, you’re ready to write. As I was writing, the ink smeared a little because it takes a bit to dry. Luckily, it was easily cleaned up with a wet q-tip.
Once you get your creative juices flowing, you’ll be able to come up with so many ways to use these Chalk Ink markers.
Will you be making a Travel Fund? Where would you like to travel to?


love this idea! Great for kids trying to save for something. 🙂
This is a cute idea, even though most cant save in a jar enough for a vacation this would be great for maybe the extras on a trip like a souvenier or something.
The Travel Fund Jar is a great idea. As long as you don’t raid it, like I normally would…..
What a fun craft to make and thank you for sharing this with us.
I like the idea of chalk markers. Good tip about cleaning up smears with a Qtip!
This is a great idea. I love it. I would really like to do this for planning my trip to visit family next year.